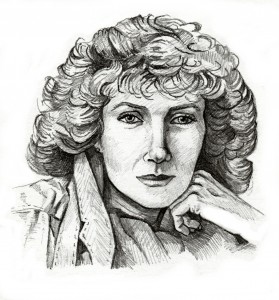
Portraits……a beginners guide
I have added this page with the kind permission of artist and tutor Tina Martin. She had compiled this information in the form of a hand written (and hand drawn of course) notes for students some years ago. My only involvement was to scan, clean up and present the same information in a digital format. Please note that Tina retains copyright…… and any mistakes are surely mine.
Before we begin……
Note that however you proceed when producing portraits there are certain basic examples of good practice. This section highlights the more important.
Start with a sharp HB pencil. Use this almost all the way through, adding work with a sharp B or 2B towards the end.
Use the point of the pencil, not the side.
Never smudge the pencil with your finger.
Keep the pencil sharp at all times.
Rough Proportions of the Face
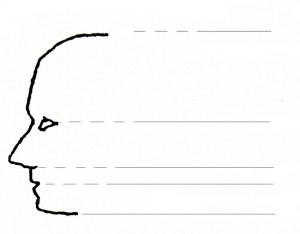
Rough proportions of the face are:-
The eyes sit on a line half way from the top of the skull to the chin.
The nose is half way from the eyes to the chin.
The mouth is halfway from the nose to the chin.
This is a broad guide only as it takes no account of the person looking up or down, or individual differences.
Tone & When to add detail
In pencil drawing you are drawing light not colour, so the white paper represents highlights of the face or hair, no matter what colour the hair or skin is.
 The use of mid-tone will determine whether an area looks dark or light.
Identify the highlights and cover the rest with a pale tone first. Put in darks next, so you can then balance the mid-tones correctly between these extremes.
Do not draw in lines of hair initially as this makes the area too busy, and unrelated to the style of the rest of the drawing. Lay in tone across the direction of the hair, so the tone is correct first. Later texture can be added.
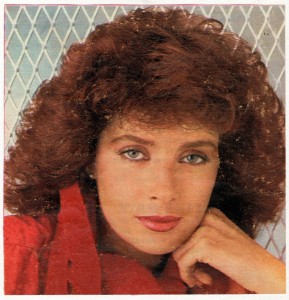
Reference Photo
It’s likely that most beginners will start from a reference photo of the subject to be drawn. This guidance will also, of course, be applicable to life drawing.
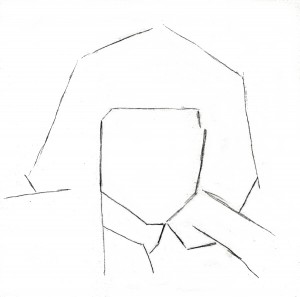
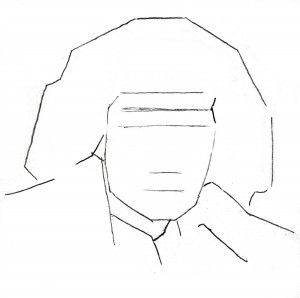
Put in the main angles using straight lines for ease of alteration.
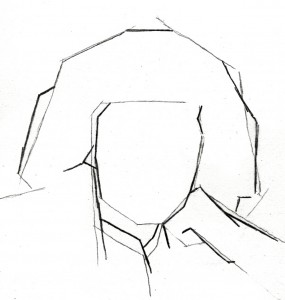
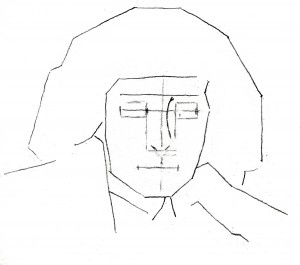
Alter any obvious mistakes in the angles and add a little more refinement to the basic lines (shown here as darker lines) As the line is corrected it should be removed to prevent confusion.
Add lines showing angle of eyebrows, through eyes, along bottom of nose and through centre of mouth.
Indicate the centreline through the nose, then the angle it is turned at.
Define size and length of eyes. Define length of mouth.
CHECK RELATIVE SIZES AND PROPORTIONS AND ALTER THEIR POSITIONS NOW
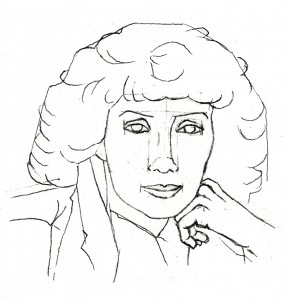
Soften the lines and angles and fit in the eyes. Check proportions again.
IF DOING A PAINTING, START FILLING IN WITH TONE AT THIS STAGE
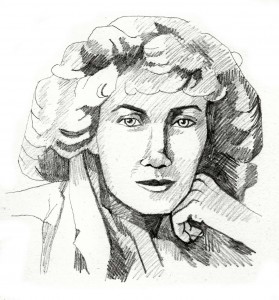
Add tone. Be aware of light, medium and dark areas.
Sharpen tone. Check highlights on the face and eyes.
© 2012 Tina Martin
……and that’s the process completed. This has something in common with all kinds of learning processes in that expertise comes with practice. No one would expect to be able to play the piano overnight so don’t beat yourself up if it takes a while to get better…… that’s the nature of the beast. Remember that we only feel really good when we achieve something that was difficult at the start…….but note what Vincent van Gogh (1853 – 1890) said:-
“As practice makes perfect, I cannot but make progress; each drawing one makes, each study one paints, is a step forward.”
So…….don’t be too hard on yourself…..it will be difficult but you will make progress with practice.
……and don’t forget to enjoy it.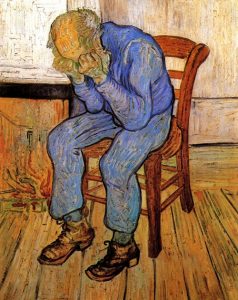
(by the way…. the painting on the right isn’t of someone who is frustrated by practicing portraits …….it’s Vincent van Gogh’s “Old Man in Sorrow On the Threshold of Eternity” ……I just thought you’d like to know)
Dave Hendry
January 2012
